Saturday, February 26, 2011

Nail Hardeners - with Moisturizers!

This is the longest series of my life! Gosh is this even half way yet? Sheeeeesh.


Okay on to the post.  This category is the 4th in my series about Nail Hardeners/Treatments and has got to be the one with the largest selection of products. After all, we are taking staples and making them better with moisture!

What are the staples you ask? Please visit the previous posts:
Formaldehyde Base Hardeners
Are formaldehyde base hardeners right for you?
Protein Base Nail Treatments
Formaldehyde + Protein Based Treatments

Not only will you find out about how these things work, but it will help you determine which treatment may be right for your current nail condition.


The only way to know the type of treatment you have in hand is by reading some ingredient lists.  I have mentioned already what "staple" words to look for (in previous posts), but what about "moisturizers"?


Here are the ingredients that add moisture to your treatment and what words you should keep an eye out for:

Dimethicone
Calcium Pantothenate
Tocopheryl Acetate (vit. E)
Water (Aqua)
Panthenol
Avacado Oil
Carthamus Tinctorius (safflower) Seed Oil
As well as other oils

This is not an exhaustive list and I would encourage you to read those labels and ingredient lists!


Now on to the PRODUCTS .... and there are A LOT of them.

Here is a list of products: (again not exhaustive)

Formaldehyde + Protein + Moisturizer:

Nail Tek HYDRATION THERAPY II
Nail Tek HYDRATION THERAPY III
Nail Tek HYDRATION THERAPY IV
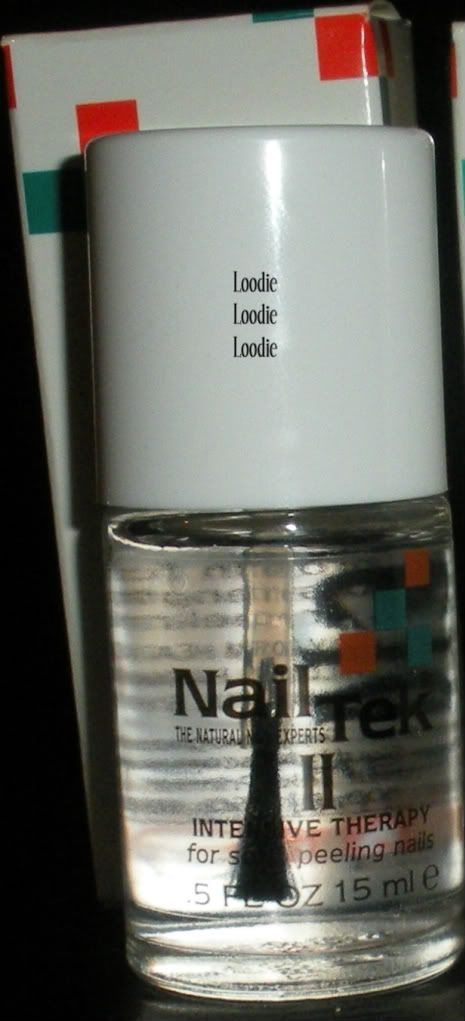
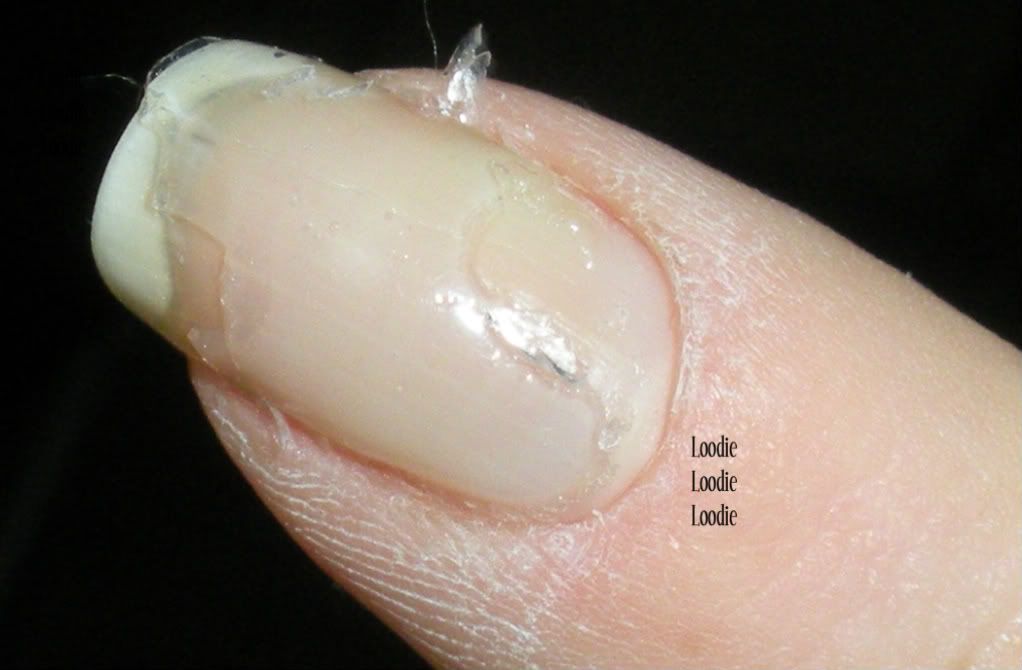
Nail Tek - Intensive therapy II Strengthener (pictured above)
OPI - Nail Envy Soft and Thin Nail Strengthener
OPI - Nail Envy Dry and Brittle
OPI - Nail Envy Original Nail Strengthener


Protein + Moisturizer:
Gelous Nail Gel by American Classics (cult following on MUA)
Nail Tek Citra #2
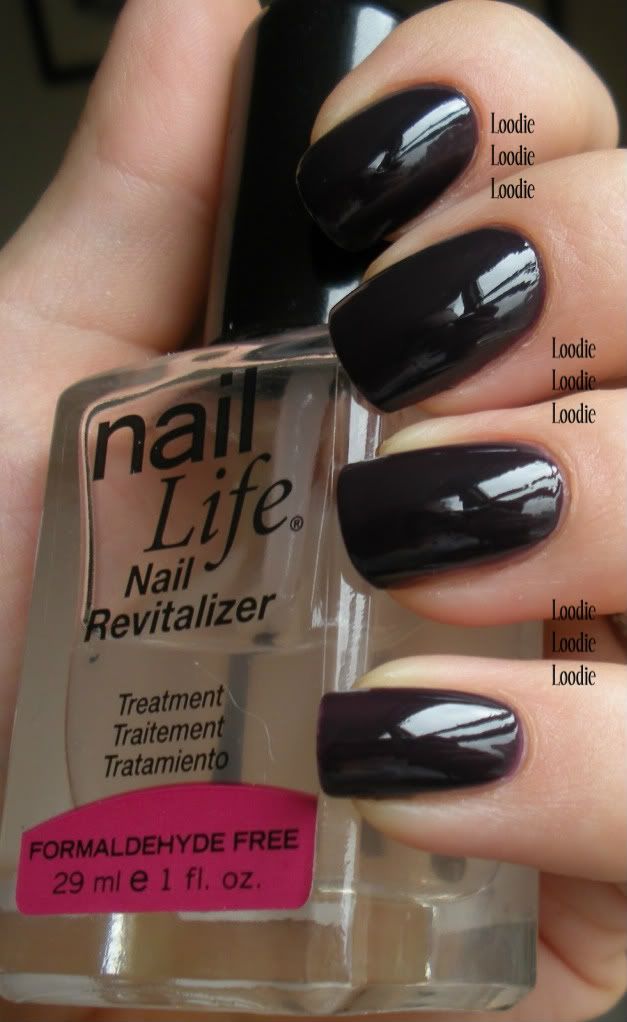
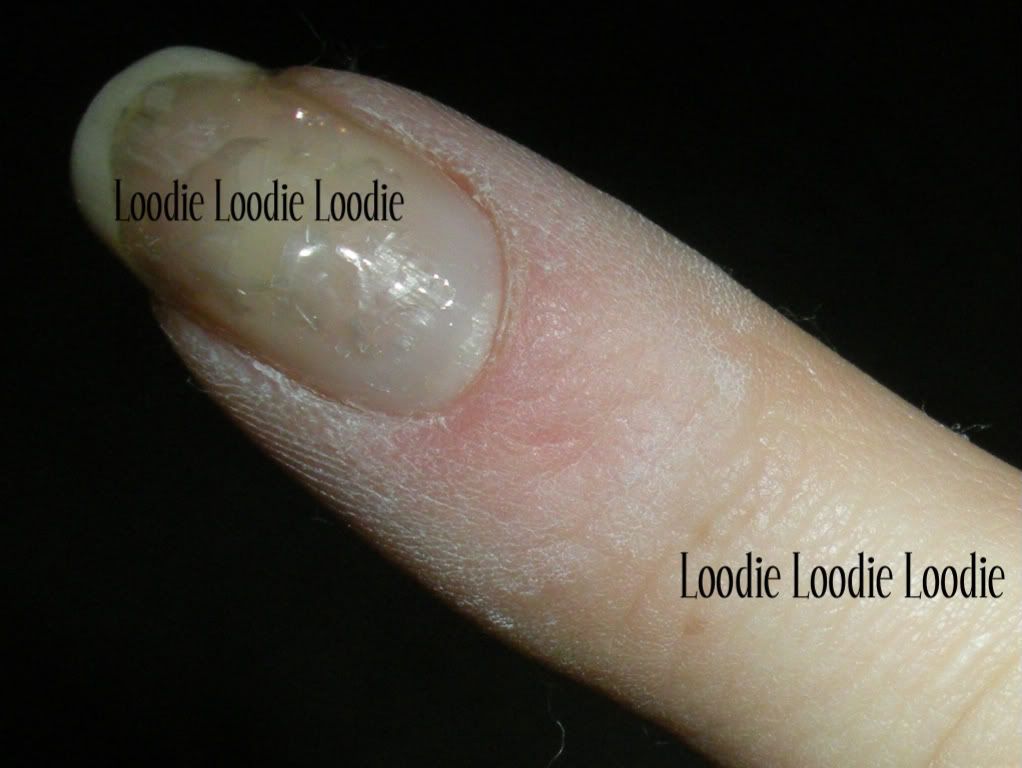
Nail Life - Nail Revitalizer Treatment Formaldehyde-Free (pictured above)
Sally Hansen Complete Care Extra Moisturizing 4-in-1 Nail Treatment
Dermelect Launchpad Nail Strengthener
Rescue Beauty Lounge - Base Coat
Barielle - Nail Rebuilding Protein
Essie - Trillionails Daily Nutritional Formula to Maintain and Balance
Lippmann Collection - Hard Rock Hydrating Hardener Nail Treatment
Instant Artificials (crazy popular on MUA nail boards)
Poshe Nail-Strengthening Treatment Base Coat
Qtica Growth Stimulator


Formaldehyde + Moisture:
Nail Tek HYDRATION THERAPY I
Nail Life - Revitalizer Treatment Original Formula

Perhaps a reader can help me place another product in the proper category. I keep forgetting to look it up every time I go to Sally Beauty Supply.  I am talking about Gelous Nail Gel (which also has a cult following on MUA) by American Classics. I know it has protein in it, BUT are there any signs of moisture ingredients? Someone, help a sista out!

Next Up: Fluoride based Hardeners part I and part II 

The complete series:

Categories of Hardeners and Formaldehyde
Are Formaldehyde Hardeners right for you?
Protein Based Hardeners
Formaldehyde + Protein Based Hardeners
Formaldehyde or Protein Based Hardeners + Moisturizers
Fluoride Based Nil Treatments Part I

Fluoride Based Nail Treatments Part II 
Dimethyl Urea Base Hardeners 
Nail Conditioners Post or Video Review of DermaNail

Thursday, February 24, 2011

Another glitter worth wearing

China Glaze - Flying Dragon NEON


I've been in a purple-y kind of mood lately and China Glaze's Flying Dragon (neon) was right up my alley. It has some glitter in it, but it's small and will easily smooth out with Seche Vite or other thick top coat.

I have top coat with most of the pic's except for the last ones, which you will notice an obvious difference.

As with most purples, this color has many camera faces.  This is the flash version ...


... but so is this.  I think the flash was not as direct.


This is the indirect sunlight version.


Awwww, I have a boo boo on my pinky.


Even more indirect light.


Indoors in fluorescent light.


mmmkay, so it's obviously hard to capture.


Here is a side by side of before and after top coat on the flying dragon. As with all neon's this is expected and pretty "cool" in it's own way ... that has been confirmed by my hubby. 


Is there some mythical flying dragon I don't know about that this polish name comes from. Someone please enlighten me.


pic found here.


pic found here

Tuesday, February 22, 2011

Nail Hardeners - Protein + Formaldehyde Nail Treatments

Back to Nail Treatments! This post, as the title implies, will concentrate on treatments that are solely Protein + Formaldehyde based.


Here are a few posts you may have missed:
Formaldehyde Nail Treatments
Are Formaldehyde Based Treatments right for you?
Protein Based Treatments 

Obviously, this type of treatment combines the power of formaldehyde and protein.  Each one has it's own mechanism for nail strengthening and instead of retyping what I wrote in previous posts I will just point you to the list above. In short, formaldehyde creates cross-linkages between the keratin in your nail plate making it harder, while the protein (often claims to do the same ... I don't buy it until I see scientific proof) offers reinforcement through it's filaments. As for determining weather this type of treatment is right for you ... again I would point you above. In short, thin, very soft, peeling nails may benefit from this type of treatment. However, if your nails are peeling because they are dry, moisturizer may help just the same and formaldehyde may make it worse. 


As with the formaldehyde only based treatments, overuse of Formaldehyde + Protein treatments can cause the keratin in your nail to form too many cross-links and as a result the nail becomes very hard, looses its flexibility and becomes brittle. It's probably best to use this treatment intermittently to avoid brittle nails and possible worsening of your nail's condition (i.e. more chipping, peeling, etc.). As always, moisturizer should play an important role in nail maintenance.

Also, since formaldehyde is a skin irritant, overtime people can build up an allergy. Skin contact should be avoided.

Now on to examples:
Most treatments of this kind actually contain conditioners so they will have to wait till the next post, but the only one I could find that strictly fits in this category is ...

Nail Magic
  Does anyone want to share their experience? Perhaps your nails condition before and after treatment? 

The complete series:

Categories of Hardeners and Formaldehyde
Are Formaldehyde Hardeners right for you?
Protein Based Hardeners
Formaldehyde + Protein Based Hardeners
Formaldehyde or Protein Based Hardeners + Moisturizers
Fluoride Based Nil Treatments Part I

Fluoride Based Nail Treatments Part II 
Dimethyl Urea Base Hardeners 
Nail Conditioners Post or Video Review of DermaNail

Friday, February 18, 2011

Time to play with chemicals!

Let's remove some cuticles shall we?

I made a video way back when and just now got around to posting it.  In the video I am using Blue Cross cuticle remover, but as I mention Sally Hansen is also a popular one. Also, in the video I use a q-tip to apply and remove the dead skin; if you don't like that, use a wooden stick to remove the skin.  I hope you enjoy my awkwardness!


Here are some relevant posts I mention in the video.

Cuticle Tutorial: Are you a cutter?

Why you shouldn't file when your nails are wet and Other rules to live by

Do my nails look fat?

Why using cuticle remover is useful for polish adhesion and results in longer wear:
Sally Hansen Performance Test

Do you want longer nail bed? 
Taking care of the cuticles will help!

Wednesday, February 16, 2011

Do my nails look fat?

I posted previously that nails can and will absorb water ... this post is just a proof of concept.

That previous post can be found here and describes how a nail in such a state ought to be treated carefully (i.e. avoid filing, using your nails as tools, or polish application).

Now on to pictures!

Here is my nail in a normal dry state.


Here is the same nail after a long hot shower.

Indeed, it looks like she had a large dinner and has to unbutton her jeans.


That is all.


P.S. The fatness is most obvious when you have a pronounce C-curve for sure. If you're not sure what that is come visit here! *hugs to all <3

Sunday, February 13, 2011

Eennie Mennie Miny Moe

I gave my hubby two choices ... Revlon Rock or Color Club Ruby Slippers. To my surprise he chose the V-day like color.


When I look at my hands I feel like I need a sleigh and some reindeer, but I really like it. 


It's much more sparkly in real life.
High five to micro-glitter ... this means I don't hate it after topcoat ... in this situation, thanks Seche Vite.


I doubled up on base coat in hopes I would not have jaundiced fingers after removal, but we shall see.
I love this color at night when the lamp hits it, it looks juicy :P

Thursday, February 10, 2011

Zoya - Julieanne

HELLO Gorgeous! This polish is so pretty, but so hard to capture on camera. When I Google images, very seldom do I come across an accurate picture of the color. AND it's a shame because it looks way better than the pictures I normally see. Now don't get me wrong it photographs a very pretty blue, but the color is much more than that! In this post I attempt to capture it's true beauty.  I have to say I wasn't totally successful, but here is my attempt.

Normally this polish photographs blue (as pictured) and although it does have these qualities it is much more purple in real life. You can start to see the purple at the tip.

Lets see more .....


Here is a good picture showing the different colors this polish flashes.

Purple!
Yellow!
Green!
More Purple and Green!


AND ....
Pink!

This picture makes it look so dark, and it is, but NOT THAT DARK.


Here we go. Yes it's still dark. Now you get a mix of purple and blue.


Although I have captured the purple, it's still much more vivid than this.

Perhaps a little sun would help, but I basically live in a prison cell facing a brick building, so yea, none of that.

Sunday, February 6, 2011

Quick Dry Top Coats = Conditional Love

Love, Hate, and Frustration.

These words correctly describe my relationship with quick drying top coats. For many, fast dry topcoats are a game/life changer. However, for me, the constant battle with their faults has soured my love for them; hence my love for them is unconditional. In particular, let's concentrate on Seche Vite because it is by far the most well known and used.

Love

1. One word: Fast. Who could not love a mani that dries to the touch in 2-5 minutes and then fully in 20-40 min. Taking into consideration that a regular mani takes ~3 hours to dry fully after the last coat of topcoat, which does not even include well dried coats of base and color in between, this is tremendous.

2. The shininess that one can achieve is just plain silly.  Simply gorgeous.


This is Essie - Masquerade Ball with Seche Vite.

That pic on the bottom right gives me convulsions.

3. Due to it's thick formulation it provides a nice layer of protection.
Here is a before and after picture using Seche Vite.


Before on the left.
After on the right.
Clearly the one on the right is much thicker.


4. The formula of quick dry top coats sets to a much harder finish. This is a pro from a strength aspect, but also a con because at some point too hard = brittle and chipping can become a problem. I'm not saying Seche Vite alone causes chipping or that it can't be prevented.


Hate and Frustration

The many complaints of fast dry topcoats include:

1. Shrinkage at the tip - Granted this problem can be prevented, here is an example:

I don't normally have this problem because I either wrap the tips or swipe the brush down right at the tip. However, this gets tricky with short nails. Another solution I have seen mentioned on the MUA nail boards is using a traditional top coat underneath the quick dry one. I can't attest to this, but it sounds reasonable.


Anyone have a personal experience with using this technique?


2. Shrinkage at the cuticle - this is one of my biggest pet peeves.


Here is a picture of the franken I showed in an earlier post right after I put on Seche Vite (SV). HELLO Gorgeous!
 EXCEPT, the very next day this happen. wtf.


This is another example with a different franken (another blue one). This is the day of application with SV.
First, excuse the rando fuzzy, but this is the day after. The problem occurs when you don't encapsulate the polish as a whole.  Had I left a larger gap between the cuticle and polish, I could have avoided both shrinkage at the cuticle and touching my cuticle with Seche Vite. However, I got so close with the actually polish color it was impossible to "encapsulate" the polish without flooding the cuticle.


So of course you're probably saying to yourself "hey dummy, leave a larger gap." To be even more difficult ... another pet peeve of mine is a large (and growing) gap between the cuticle and color. Sometimes performance tests will be ended short due to this annoying gap from regrowth. So, what I am saying is I struggle with this problem.

Perhaps a regular top coat under Seche Vite would help solve this. Any advice from others? 


3. Dulling after a day or two. Sometimes this dulling is only visible with camera flash, but otherwise since I apply a coat of clear every two days or so to make mani's last longer this is not such a big deal.

4. More chipping than a regular top coat.

Quick dry top coat formulations may

a.) be incompatible with certain polishes (or with your own nail chemistry) OR

b.) dry to a much harder finish in comparison to the flexibility of the nail or polish underneath.

Thus in both cases the polish is much more likely to chip because there is not as much "give" as in the natural nail.

The top coat I have pictured is Seche Vite Ultra-V. It's suppose to be Seche's version of a UV curable top coat. It is absolute crap. Not only does it chip like crazy, but it's a fake UV activated top coat. None of the ingredients listed require UV to cure, so what up wit dat?


5. Thickening of the formula.


About half way down Seche Vite can get a little thick, but that's not something a little nail thinner can't cure. 


6. Incompatibility with some base coats/colors.
Some people report Seche Vite (and only SV) peeling off in layers with certain polishes. I have not had this happen to me often enough to make any comments, nor have I studied the ingredients to judge it fairly from a scientific point of view ... so that is very unhelpful of me on both accounts. However, from a very simple point of view, obviously the formulas don't want to play nice.

What base/color/SV combos do not work for you?

At the very least now we can all unconditionally love Seche Vite together. Yay! What other quick dry top coats do you love?

Friday, February 4, 2011

Shellac Problems and Questions

I thought I would publish a conversation with a reader who has been having problems with Shellac.  Perhaps this will be of help to everyone :)

If you missed the series on using Shellac to fix a nail break they can be found here:
Part I - Introduction to gel polish
Part II - Application
Part III - Removal
Video


Comment 1: 
So after seeing your first post about CND Shellac I went and purchased some for myself. I followed your steps and the CND steps to a t! Loved the results.. AT FIRST. Within a day, it all peeled right off!

Response 1:
hmmm ... First lets try to eliminate a few reasons why this may have happen.

How long did you cure the shellac for?
What UV light did you use?
Were your nails completely dry (and oil free)before application?
After you put on the shellac did you shower immediately after in hot water?


Comment 2: 
Well I checked to see what the Wattage was on the CND UV lamp and it was 36W, wouldn't it be the same then!? Plus the polish says only 10 seconds in the UV light. Anyway-- I did different numbers of layers on each nail some 2 some 3 depending on how thin or thick. I let the cure 2 minutes after each coat.
February 2, 2011 9:56 PM


Response 2:
Each gel product needs a specific amount of UV light intensity (output) to cure it in a specific amount of time. Although your UV light is 36W, which is the same as CND, wattage is related to how much power it uses, NOT to how much light it puts out (output). How much light intensity a UV light puts out (output) is related to the number of bulbs, their placement, and any mirror (or reflective elements) part of the lamp.

It seems that since you are not using the CND lamp (even if it is the same wattage) it does not have enough intensity to cure Shellac in the time stated by CND. The gel is not curing properly, even if it seems hard. Since my lamp is crappy and not CND's, I cure mine for way longer than what CND says. Furthermore, I put tin foil all around it to give more reflection.

Since you have product and a UV light, try to Shellac again, but this time cure 4 layers worth for 4 minutes each time. :)

BTW, I have a 6W light and it works the way I described (*4 min cure per coat), proof that wattage is not as relevant as intensity (output). Good luck!

Let me know what happens! <3


If you have any questions or problems let me know! :)

Wednesday, February 2, 2011

Nail Fix - Shellac Removal

Shellac removal is as easy as the foil method ... actually it's exactly the same!

This is Part III of the Shellac Nail fix series. Links for the other parts are at the bottom of the post.
Would you like to see a video of this process?!  Click here.  

Step1:


Get a cotton pad (or cotton ball or felt) only as big as your nail. This will decrease your exposure to acetone. Soak the pad really well with acetone. Place the pad on top of your nail, making sure it covers the entire nail bed. Place a piece of foil on top of that. It should look like the sandwich pictured to the left.


Step 2:


Start folding the foil around the acetone laced cotton pad that is on top of your finger nail.


Not sure all these pictures are necessary, but what eve's.


Squeeze the foil at the base of the finger to prevent leakage or evaporation of the acetone. Make sure the pad is held taut on the nail.


Step 3:


Sit and wait for X amount of minutes. Most soak off's, including CND Shellac, come off in 5 min, but can be as high as 10 min.

If for example you were very impatient and took your finger out early it may look like this. You can see some of the gel has clearly dissolved, while most of it is still there.


Do NOT pick it off! Just re-foil this baby. Shellac leaves absolutely no damage, unless you decide to pry things off which is a bad idea with any enhancement.


Step 4:


It should look like this. All of the gel will lift off or flake off. You should be able to take a second acetone soaked pad and wipe off the flakes. CND says you can take a orange stick and get rid of the flakes as well, but you shouldn't have to buff or pry anything off.


If you missed the other parts of the Nail Fix Series, here they are:
Part I - Nail Fix
Part II - Nail Fix - Shellac Nail Prep and Application
Part IV - Shellac problems and questions
Video: My face talking to your face. :D